
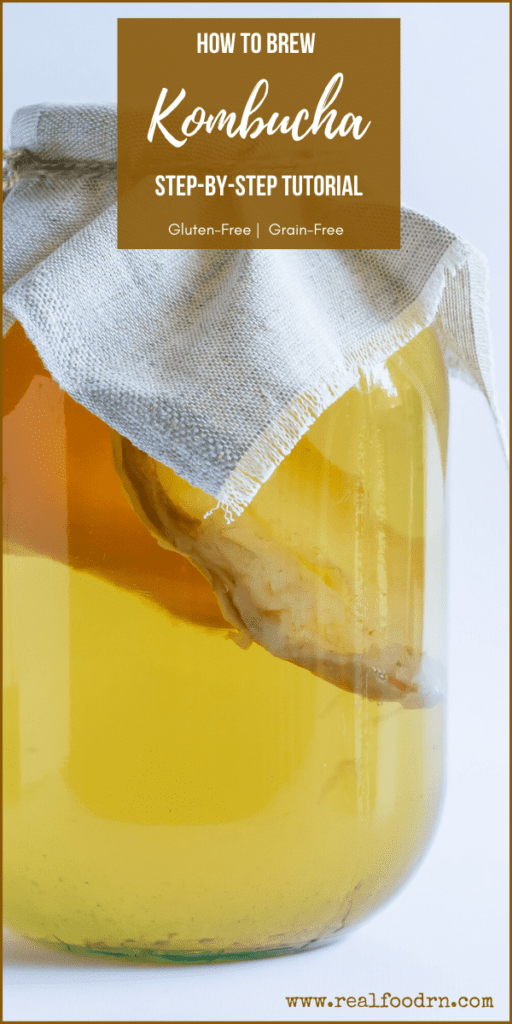
Step-by-Step Tutorial: How To Brew Kombucha
In our household, we go through 2 gallons of kombucha per week! Before I started brewing it myself, we spent a hefty amount of cash on the habit. I admit I was a bit intimidated to learn How To Brew Kombucha (what the heck is a SCOBY?!), but I hiked up my big girl panties and gave it a try. The method to my madness has evolved over time. Here is my technique…
I am going to break this up into initial ferment and second ferment (for those over-achievers out there)

How to Brew Kombucha
Ingredients
- Initial ferment:
- 1 gallon distilled water
- 2 green tea bags for the antioxidant content, NOT caffeine-free
- 2 black tea bags you can even get the flavored kind, my family likes peach
- 1 cup white sugar no, you can’t use honey. Also, I tried coconut sugar and it got slimy — yuck!
- ¾ cup kombucha either from a previous batch or store-bought
- 1 SCOBY
- The second ferment:
- Glass bottles I usually fill 6-7 bottles from a 1-gallon jar of kombucha The kind of bottles that can withstand pressure, as the carbonation creates quite a lot of pressure and the glass can break. I reuse old kombucha bottles like these.
- Fruit juice either fresh or store-bought (we use peach juice with our peach tea). The second ferment is where you can have fun with it, mix up flavors until you find one you really like. My family loves peach and strawberry/lemonade. Try adding fruit to it.
Instructions
Initial ferment:
- 1. Bring the water to a boil and add tea bags and sugar.
- 2. Allow it to steep 20 minutes.
- 3. Remove tea bags and stir until sugar is dissolved.
- 4. Pour into a large glass vessel of some sort (we use old gallon pickle jars).
- 5. Allow to cool.
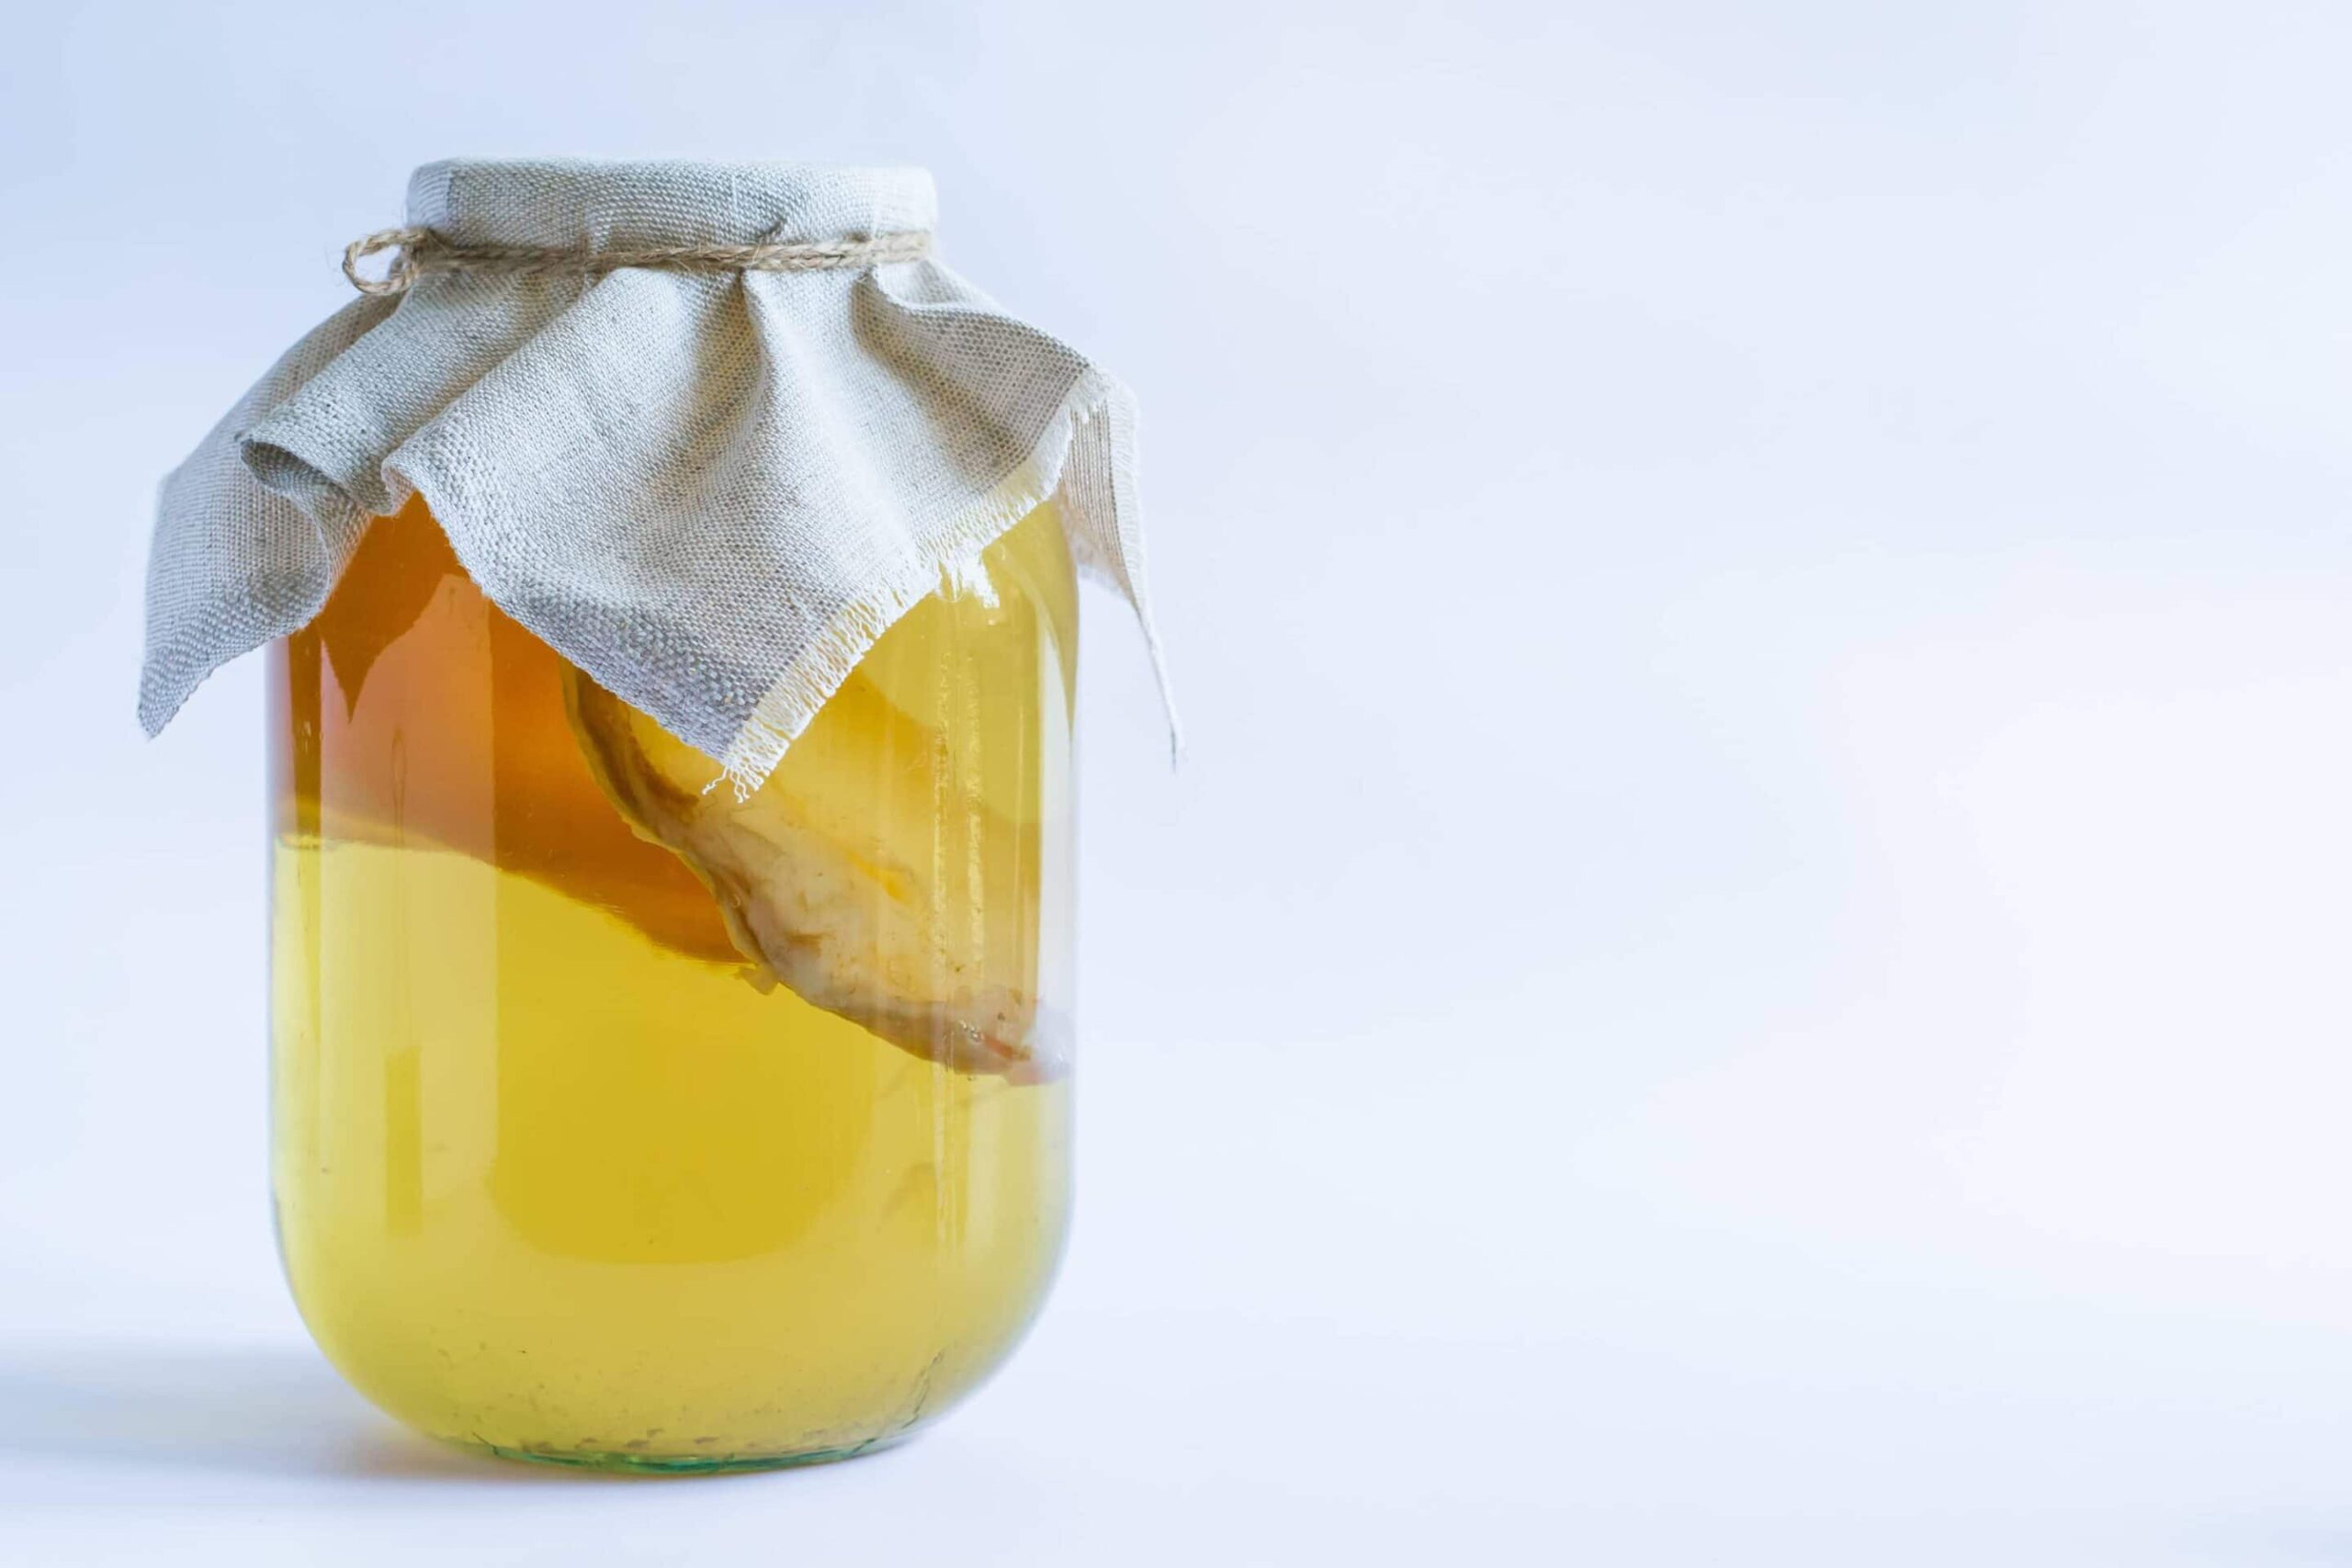
- 6. Once cooled, add kombucha (for proper pH) and your SCOBY.
- 7. Cover with a cloth and put a rubber band around the top. You want the kombucha to be able to breathe, but you don’t want any critters getting in there.
- 8. Now, set in a low traffic area where there will be a pretty constant temperature, like an unused room or under the sink.
- 9. Wait for about 5 days. Depending on where you live and what time of year it is (warmer climate = faster brew).
- 10. With a clean spoon, sample it. If it’s sour, you’re ready for the second ferment (if you plan to do this step). If it’s still sweet, give it a few more days. Always use a clean spoon and no double-dipping! When you have achieved sourness, your kombucha is ready to drink. But, for those of you who want it carbonated, you will have to do a second ferment. I always second ferment.
The second ferment:
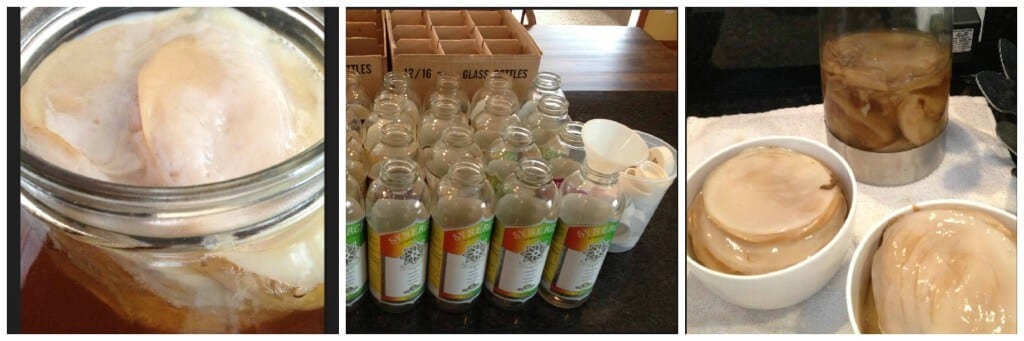
- 11. Remove the SCOBY from the jar and set aside to be used in your next batch. You will grow a new SCOBY with each batch, they can be divided and shared with a friend or stored in a "SCOBY hotel" in your fridge for future use (see photos below).
- 12. Pour 1 Tbsp of fruit juice in the bottom of each jar.
- 13. Then add kombucha to the top of the jar and put on the lid.
- 14. Continue to do this with all the jars until the kombucha is all used up.
- 15. Put the jars back in the same place the kombucha had been and let them sit for a few more days. The longer they sit, the more carbonated it becomes. But, if it sits too long, it will become vinegar. My general rule of thumb is no longer than a week. The sugar in the juice produces the second ferment, as the bacteria/yeast eat the sugar they produce CO2 (essentially it’s a bacteria/yeast fart…yum!).
- 16. Then refrigerate and enjoy!
Notes
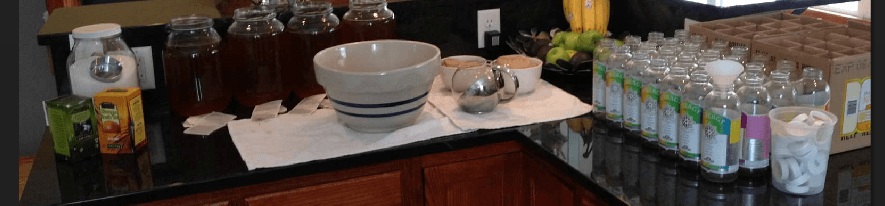
I have a rotation of two batches going at all times. Once a week is kombucha making day. On this day I brew up 4 gallons to ferment for a week and then bottle the 4 gallons from the previous week (for the second ferment). I also put the bottled kombucha from the previous week into the fridge for us to drink.
I store all of this in a backroom in our basement that stays pretty much the same temp all year long. Each week on kombucha making day, I put about 28 bottles of carbonated wonderfulness into the fridge for our consumption during the week. This process takes me about 30-45 minutes start to finish. Once you get the system for How To Brew Kombucha down, it’s a piece of cake.
Here is the whole Kombucha making layout:
Whew! Are you overwhelmed by my method?! You do NOT have to start out doing this much, just stick to the one-gallon and increase as your needs demand.
Watch my video below all about How To Brew Kombucha
CLICK HERE to Pin this Recipe

Hi, my name is Kate.
I love food. Real food. We eat all of the things that nursing school taught me were bad for you: butter, eggs, bacon, and raw milk.
I am a Nurse, a Mom, and a Real Food loving blogger. Just trying to save the world.
Hi you are amazing! Where do you get the bottles you use? Is kombucha the same as cocobiotic? Thanks —-> Jan
I re-use bottles from the kombucha I used to buy at the store. Also, these bottles are awesome!!! —-> https://amzn.to/1bQubzz. You need bottles that are able to handle the pressure of fermentation. If you buy the wrong kind, you WILL have an explosion….lesson learned 🙂
Yes, it is the same as cocobiotic
What is the best way you have found to make it fizzy? I’ve been using different herbs/teas as a flavoring and although it tastes good, it isn’t fizzy. Thanks.
When I do the second ferment, I have found that pineapple juice makes it the most fizzy. Yum!
Thanks Kate. I’ll try that.
I would like to know what is Kombucha. i make a lot of my own cordials as i’m not an alcohol drinker. I need to be a little care full in that sense. I do enjoy flavored teas. Id like to say thankyou. I love your page and the recipes are lovely. Please Reply. thanks. from All`an Clemett.
Kombucha is a fermented tea. It’s full of probiotics. It can contain a trace amount of alcohol from the fermentation process, but its very small. Safe for kids to drink. Delicious!
Where do I find a SCOBY?
Right here: https://amzn.to/17hI9G5
I have given this a try, and grew a SCOBY from a bought kombucha. I have just finished the second fermentation, is there supposed to be a new little layer of SCOBY? If so, do we toss them into the hotel, or mix them in and drink? Thanks!
Hi, I’ve made 3 batches now and I’m feeling confident, however I do have lingering questions. I have been using all scoby’s in my first ferment and not using your hotel method. How much mother tea needs to be in the hotel bottle and can it be sealed with a srew top lid or is a breathable cloth better? Thanks also for your easy to follow guides
I pour in enough mother tea to keep them covered. I keep them in a jar with a lid in the fridge, but some say to leave them out. You can choose which method you like best 🙂
We live in a very old house with minimal insulation and a raised foundation. It gets cold! Would a cooler with a jar of warm water work? Any other suggestions ?
That would work fine, but not too warm or it will ferment too quickly
I made my first batch 10days ago. 4 days into the brew I discovered my glass was crystal. I changed to a glass only vessel. My question is this………..did the Scoby have enough time to suck up lead? Should I throw it or drink it?
Wow thats an answer that I don’t know! I guess I would just toss it to be safe. That’s a bummer!
So, is the stuff you buy at the store (I purchased Reed's from Kroger) is it the same and as healthful or is the store bought full of more sugar/harmful items? I liked the one I purchased, I like the taste, a bit afraid to make my own though but maybe I will give it a go some time in the future.
The stuff at the store is great! We just started brewing our own because the store bought stuff is pretty expensive and can add up fast if you drink a lot of it. Once we were buying it daily, we made the switch to making our own 🙂
So I just made my 2nd batch of kombucha, poured the juice/kombucha for the second ferment yesterday and today all my bottles have floaties on top – looks like it could be mold, but I’m not sure. Has this ever happened to you? Is temperature an issue? Our house is fairly cold so this time I left them on the stove, haven’t turned on the oven but have used a couple burners (not under the bottles) yesterday.
Do I have to throw them all out or can I just scrape off the floaties and close them up?
Those are just yeast strands, totally normal. You might want to check them as that develops right around when they are ready. Yours might have double fermented quicker because you put them in a warm place. Just taste one and see if its fizzy. If they are ready, then put them in the fridge. It is also very normal for the bottles to grow little SCOBY’s inside. My kids call them the “eewies” 🙂
Hi Kate,
Can I store the scoby in a scoby hotel in the fridge in a glass jar? If so, how long can I keep it there?
Avi
Hi, I guess I should have watched your video before I started my kombucha.
I got a little zealous and did a double batch of it in a two gallon jar but forgot to double the already brewed kombucha.
So now I am worried if it will be ok, it is the fourth day and I noticed some white spots on top so not sure of that and I did not use black tea only green. So I will probably dump it and get a one gallon jar and try it again. Have you ever had white spots?
Thanks,
Lisa
Hi Lisa,
Yeah you need to use black tea, it is essential to the fermentation process. You can certainly use black and green tea, but there always has to be some black tea. Hope the next round turns out great for you! Let me know how it goes 🙂
Can you mix juice and kombucha just before drinking?
Yes, but it will have a higher sugar content because it won’t have time to ferment the juice into probiotics
Just made my second batch but I used probably about 4″ in the gallon jar of the tea from the first batch instead of the 3/4 c. You used….that’s what I was told to use. Think the messes anything up? My complaint is mine always is pretty “vinegary” tasting. I don’t remember the ones I use to buy tasting that “vinegary”. I was told I could go ahead and drink it right after I made it and not do a double ferment so that’s what I’ve been doing…could that have anything to do with the strong vinegar taste? Thanks for the great video! It was intimidating until I saw your video!
Mine tastes more vinegary too, that’s because the fermentation is longer and the store brands have more added juice to sweeten them up
I am making my first brew from a store bought raw unflavored kombucha. The SCOBY is thin. It’s been 2 and a half weeks since I started. I read someone else’s blog about feeding it with more tea and sugar. I don’t have any bubbles but it seems to be doing well. I just want to know if I should feed it and how do I feed it without disturbing the SCOBY. THANK YOU.
Just add in more sugar and you should be good.
Kate,
Is it possible at all to make Kombucha with teas that are caffeine free or decaffeinated teas?
I absolutely need to stay away from caffeine. It triggers extremely debilitating vertigo episodes that last for days (3 days from last exposure).
Also, before I knew there was some amount of caffeine or fermented alcohol in them, I tried the gingerade flavor of GT’s Kombucha.
I enjoyed it so much that I bought a few bottles. I drank 2 bottles in 1 day.
I started to feel lightheaded and slightly nauseated.
Then I noticed the disclaimer in very tiny print on the bottom back if the label that it could contain a small amount of alcohol.
I’m a recovering alcoholic. I felt awful that I had a slip.
My husband said “it’s no wonder that you enjoy it so much.” When I looked for a recipe to make it, I learned it was made with tea.
We don’t know if my reaction to it was because of the caffeinated tea and/or the alcohol from the fermentation process.
Can you help me with an alternative way to make and enjoy this safely for me?
I have many food allergies and a leaky gut also.
I was hoping that the Kombucha would help me with that.
Thank you in advance for your response.
I’m pretty sure the caffeine is needed for the correct fermentation. It is used up in the fermentation process though. There is a kind of kombucha that you can make using green tea and honey, I forget what its called. I have not made it before. Maybe you could try that!
I have been making kombucha for years. We love it. I have been using 3 black tea, 2 green, and 2 herbal (usually hibiscus). I am wondering I can cut back in my amount of tea bags a bit and not notice a difference. I am using almost 2x your amount. Maybe I will cut back one black tea bag and it should be fine.