

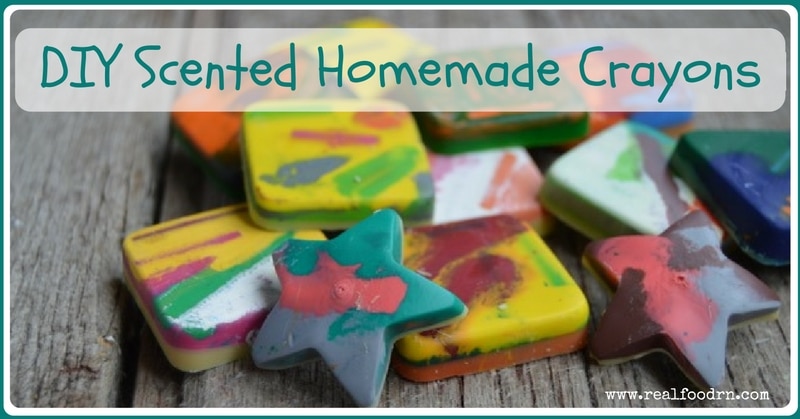
DIY Scented Homemade Crayons
Remember melting down crayons as a kid?
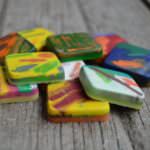
We melted crayons between layers of wax paper. That was fun and pretty, but after it was all said and done, all we had was a melted crayon design. Being a kid, I quickly got bored with that one. Then, I discovered that I could melt my broken crayons in molds and re-use them! Plus, you could make them swirly colors! Awesome!
This may or may not have led to me breaking many of my crayons on purpose, just to be able to use them to make new homemade crayons!
Now, as a homeschooling mom, I decided this would be something fun to whip up in our kitchen classroom. We also decided that it would be REALLY fun to make them scented crayons! Remember the scented markers? Yeah, kind of like those, but waaaaaay better for little sniffers. The essential oils are actually good to be smelling! No chemicals, just sensory bliss for kids and moms alike. Bonus: we use therapeutic-grade essential oils, so they have added benefits.
Here are some examples of therapeutic uses to boost well-being and make using these crayons a multisensory experience:
- Peace and Calming Essential Oil: Creates a relaxing environment that’s especially great for homes with children
- Lavender Essential Oil: Lavender is relaxing and balancing
- Joy Essential Oil: Creates a warm, comforting environment that supports emotional balance
- Lemon Essential Oil: Lemon is uplifting and creates an energized atmosphere
- Make it fun: add lemon or orange to the yellow/orange colors, add lavender to the pink/purple crayons, etc
…just to name a few, but you can certainly experiment with any of the amazing oils you want! This is the really fun part!
DIY Scented Homemade Crayons
Materials
- Old broken crayons
- Silicon molds
- Essential oils
Instructions
- Preheat your oven to 250°F.
- Peel any remaining labels off of your crayons.
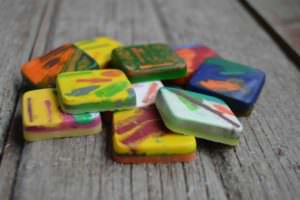
- Sort the crayons into colors that work well together. We like green-yellow, pink-purple, red-orange, but you can do what every combination that you like.
- Place the crayon pieces into the silicon molds.

- Bake at 250°F for 15-20 minutes, until crayons are fully melted.
- Remove from the oven and add the oils to the crayons, about 3-5 drops per crayon.
- Allow them to cool and harden completely before removing them from the molds.
- Color and create masterpieces!


Notes
CLICK HERE to Pin this post


Hi, my name is Kate.
I love food. Real food. We eat all of the things that nursing school taught me were bad for you: butter, eggs, bacon, and raw milk.
I am a Nurse, a Mom, and a Real Food loving blogger. Just trying to save the world.
How do u get the individual colors to stay? Everytime I try this I end up with either a shape that doesn’t stay together (not melted enough) or that turns into an ugly blob of black!
They just melt that way