
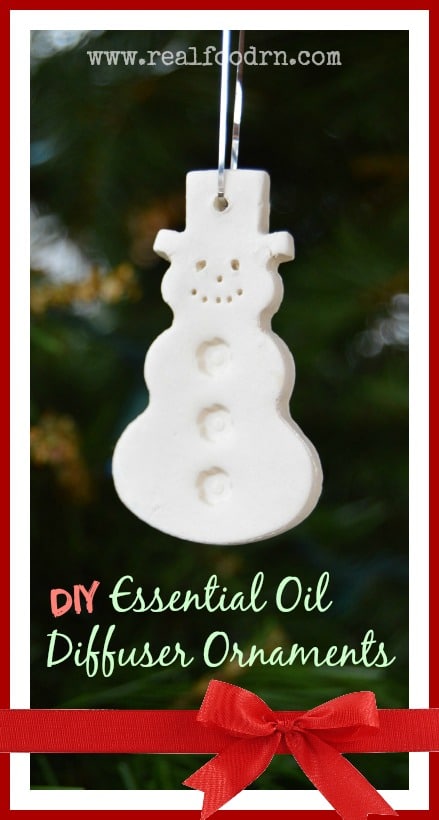
DIY Essential Oil Diffuser Ornaments

Essential oils have been a part of our daily lives for years now! I could not be without. Well, this year for the holiday season, we decided to get creative in our essential oil usage. Who wouldn’t want a tree that is both beautiful and that also supports our wellness? Yes, please!
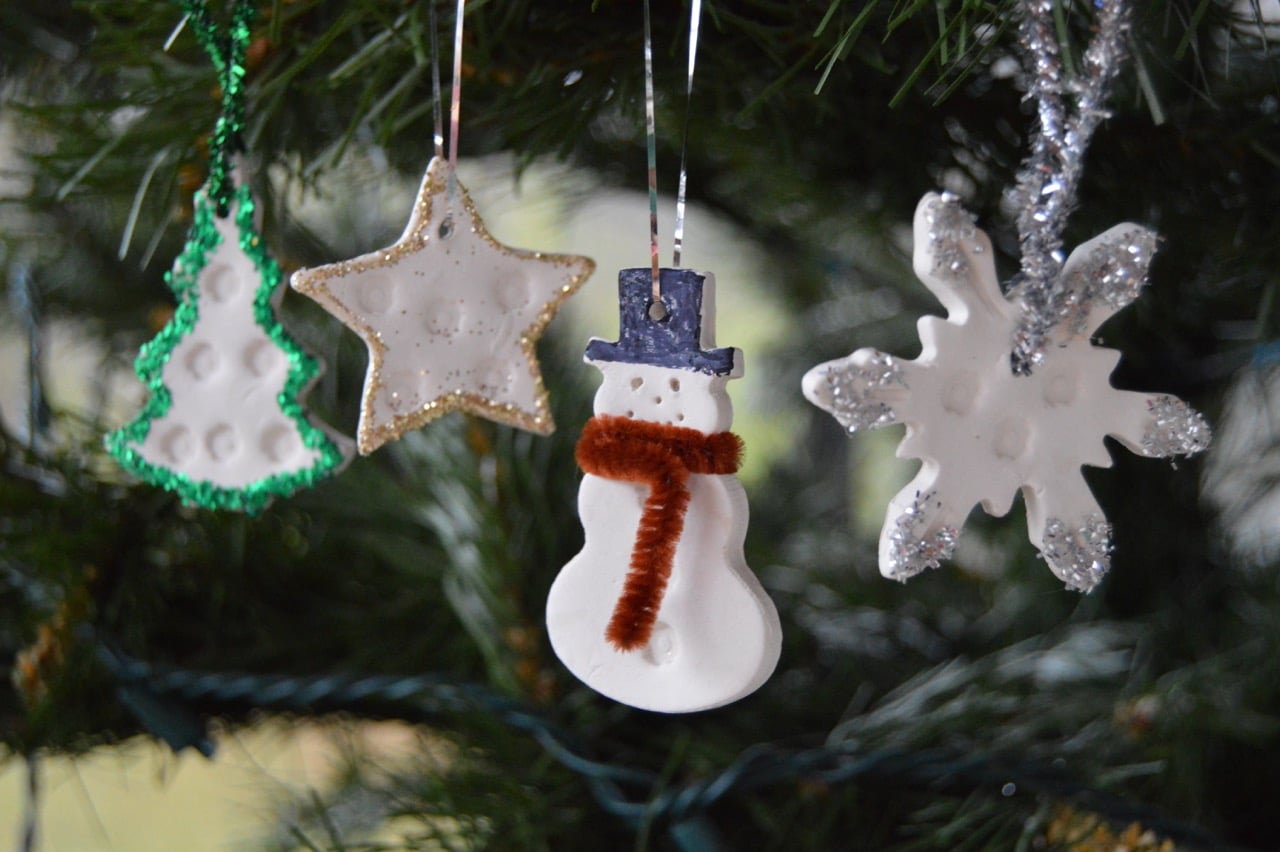
My kids love to make clay projects and we have already made so many diffuser necklaces that I figured the natural progression would be to hang those necklaces on the Christmas tree and make them into even cuter ornaments. The kids approved! Thus, DIY Essential Oil Diffuser Ornaments were born.
They make great gift ideas too. We are going to give them to family, friends, and teachers this holiday season. Along with a bottle of essential oil of course.
DIY Essential Oil Diffuser Ornaments
What you need:
- Terra Cotta Air Dry Clay — where to find
- Silpat — where to find (makes any surface non-stick!)
- Rolling pin (I find this kind to be the easiest to use)
- Cookie cutters in your favorite holiday cut-out shapes
- Stampers — like these (optional, to make the ornaments even prettier)
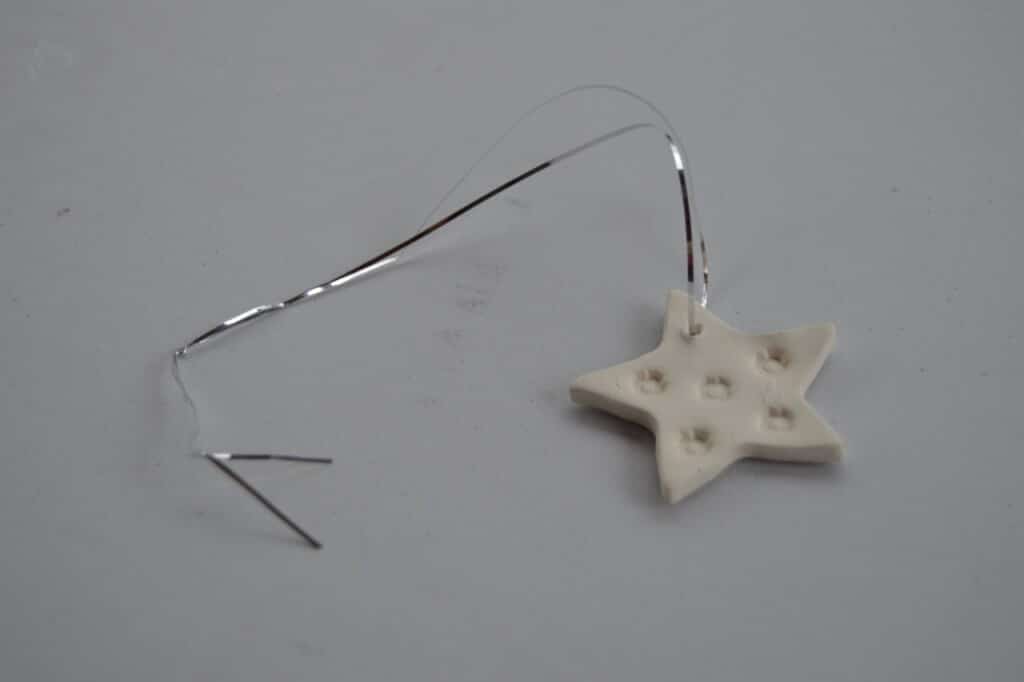
- 1 Skewer Stick
- String to hang them with
- One pen or marker with a cap on it
- Glitter, ribbons, pipe cleaners, or paint to decorate them if you wish
- Essential Oils
Directions:
- On your Silpat, roll out a ball of clay using your rolling pin
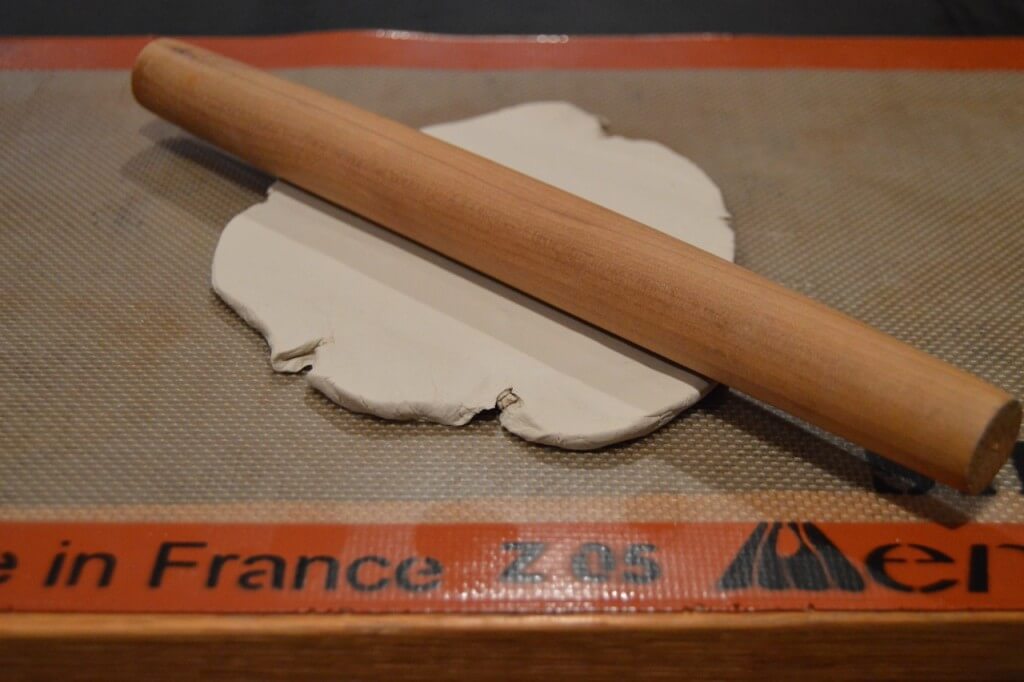
- Roll the clay until it is 1/3″ thick, if they are too thin they become brittle when they dry. You can make them thicker if you want them more durable
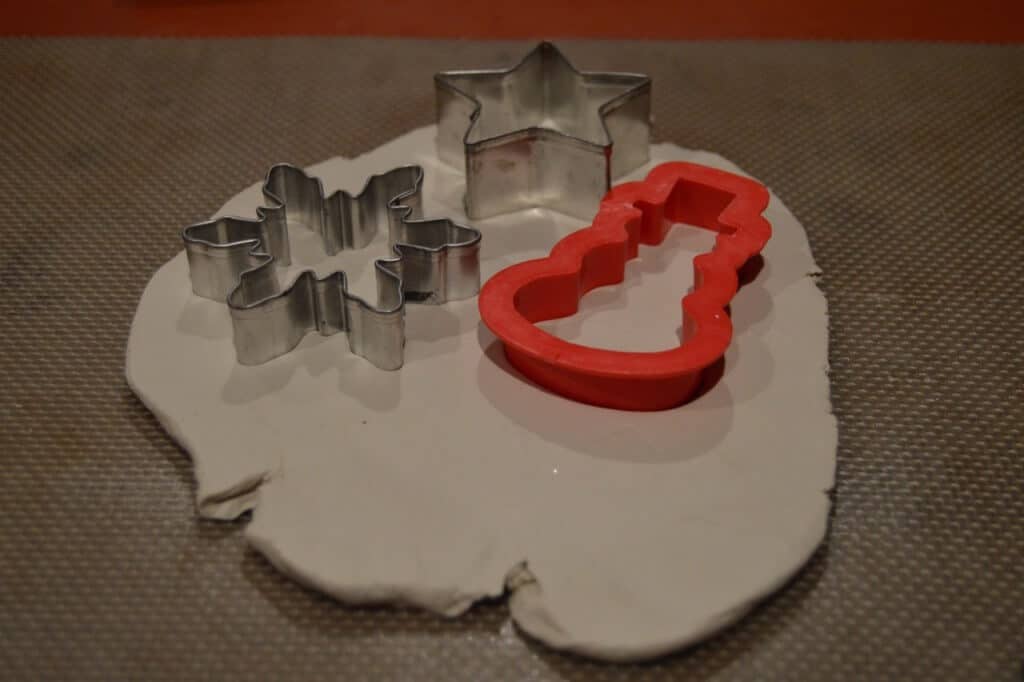
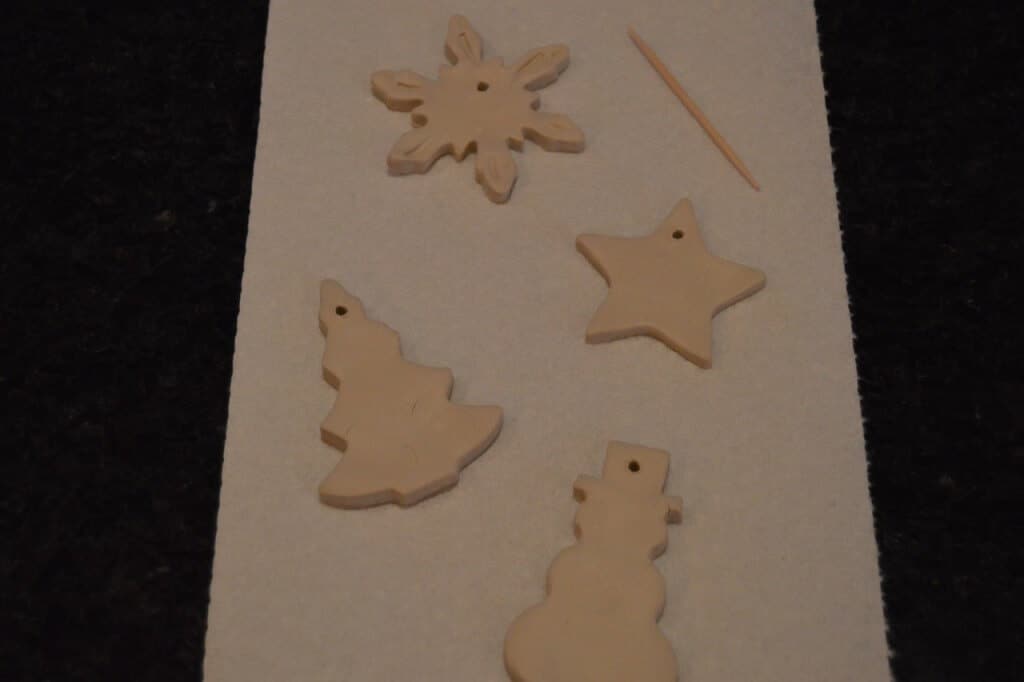
- Using your cookie cutters, cut into fun festive shapes
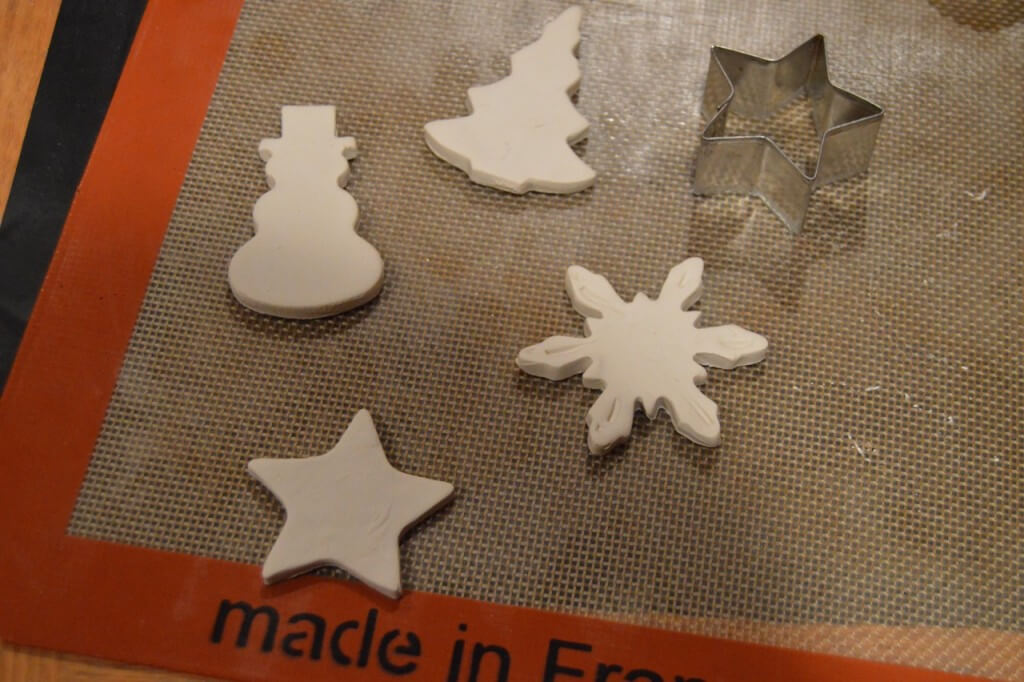
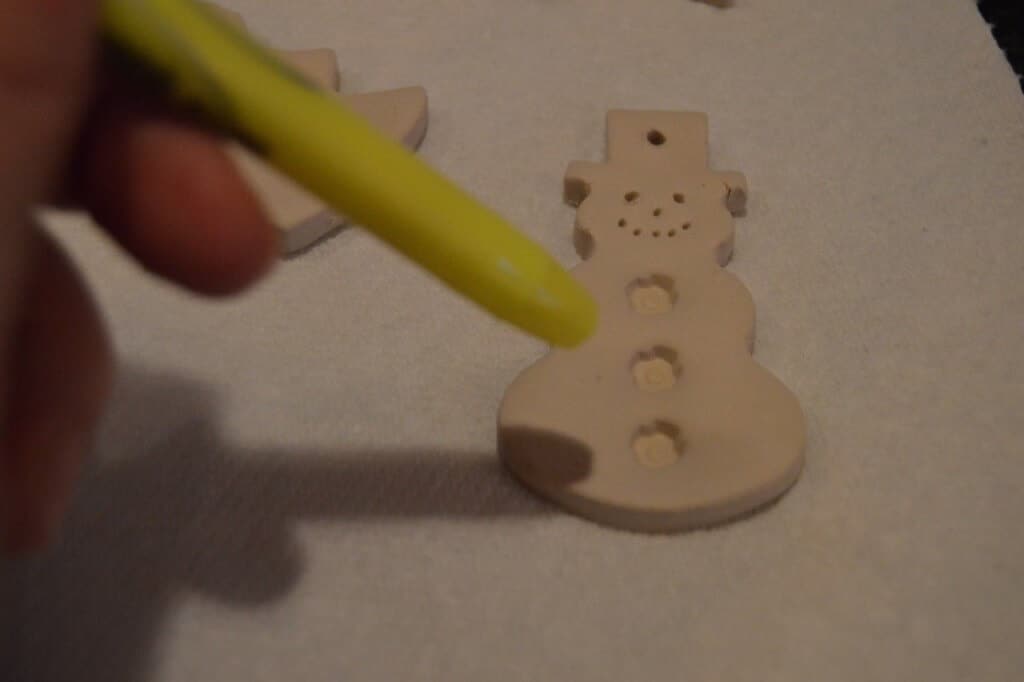
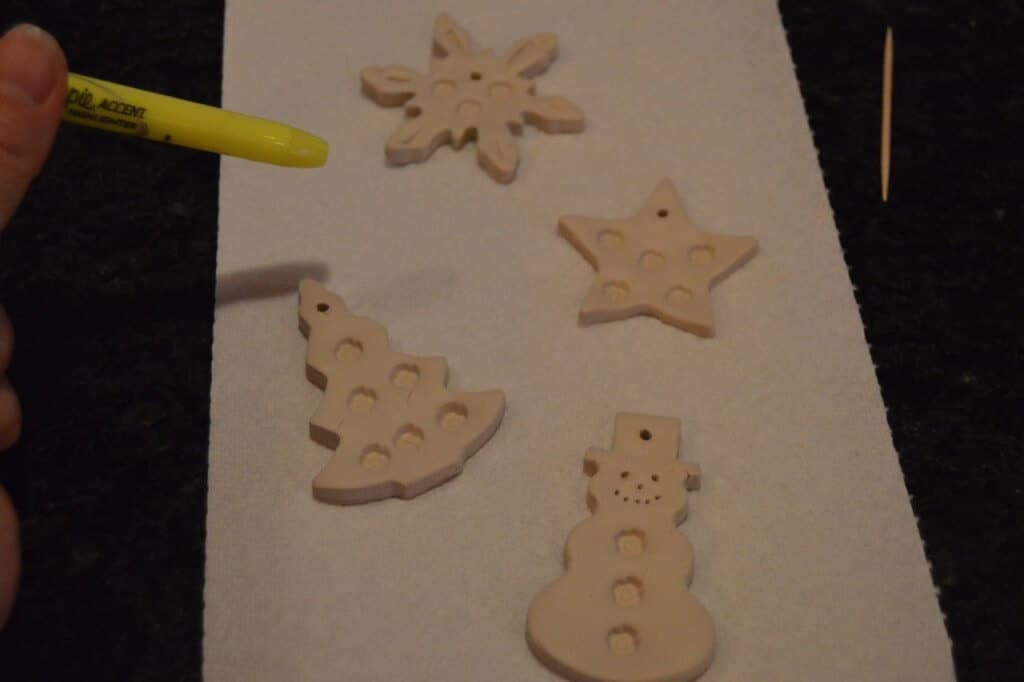
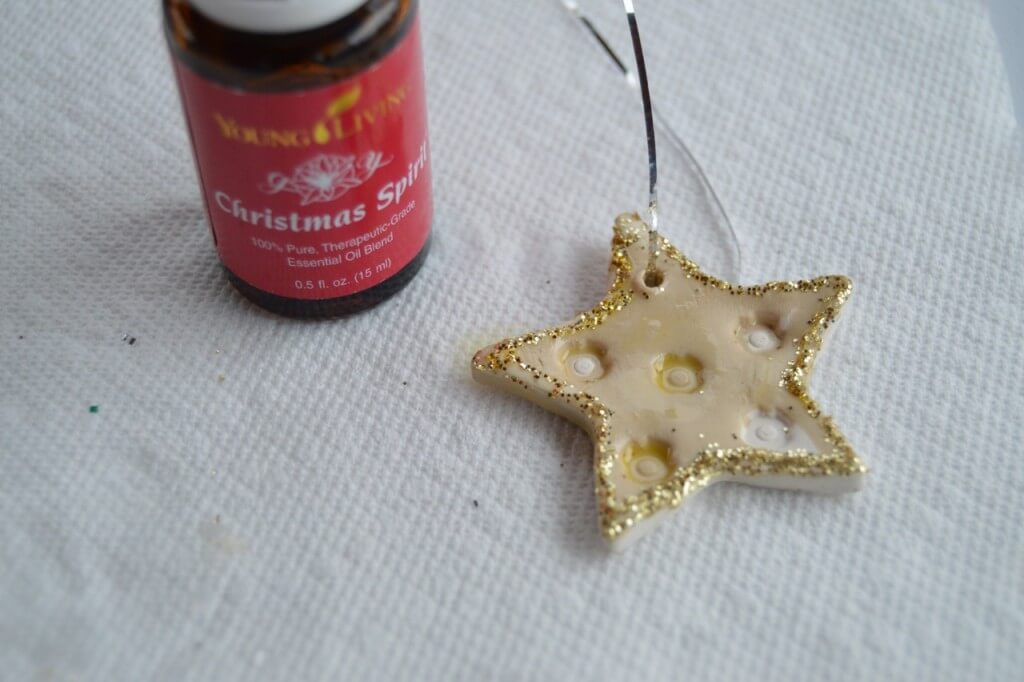
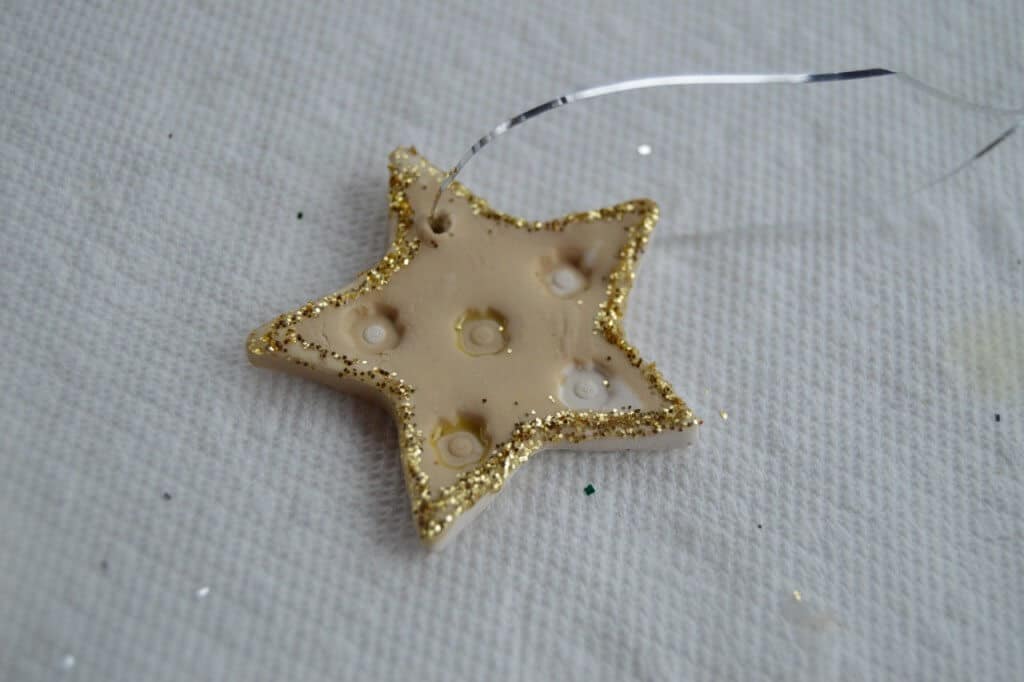
- Using the stamps or a pen cap, make indentations in the ornaments. This is where you will apply the essential oils when the ornaments are dry
- Using your skewer stick, poke a small hole in the top for your string
- Using the stamps or a pen cap, make indentations in the ornaments. This is where you will apply the essential oils when the ornaments are dry
- Allow to dry, undisturbed, for 2-3 days. If you try to use them earlier, they will break — believe me we learned this lesson over and over (my kids were way too excited to wait 2 days!)
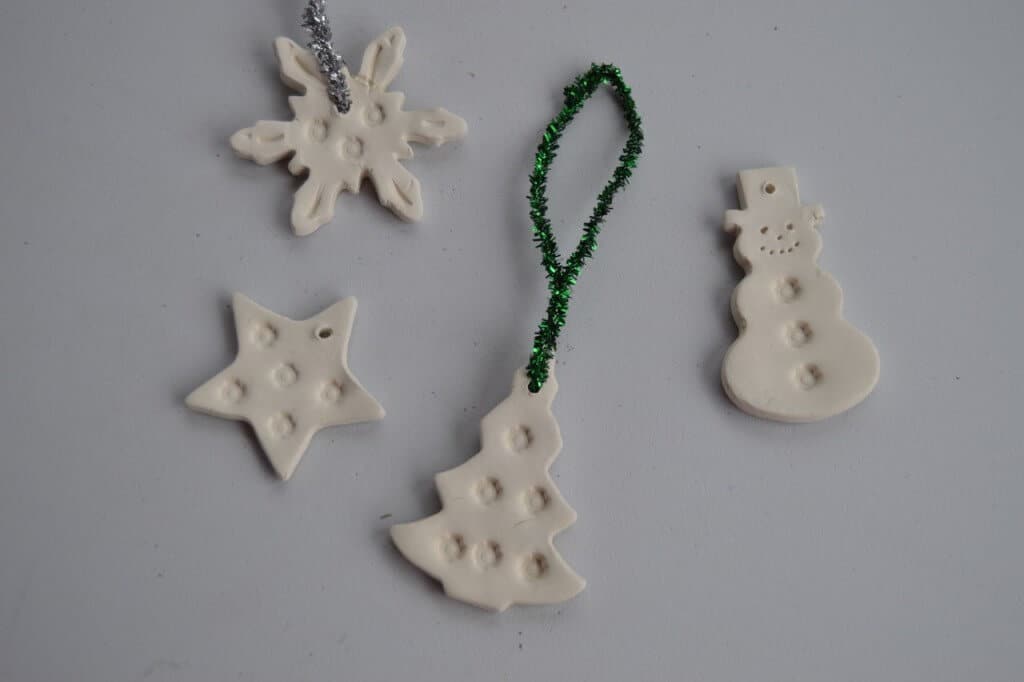
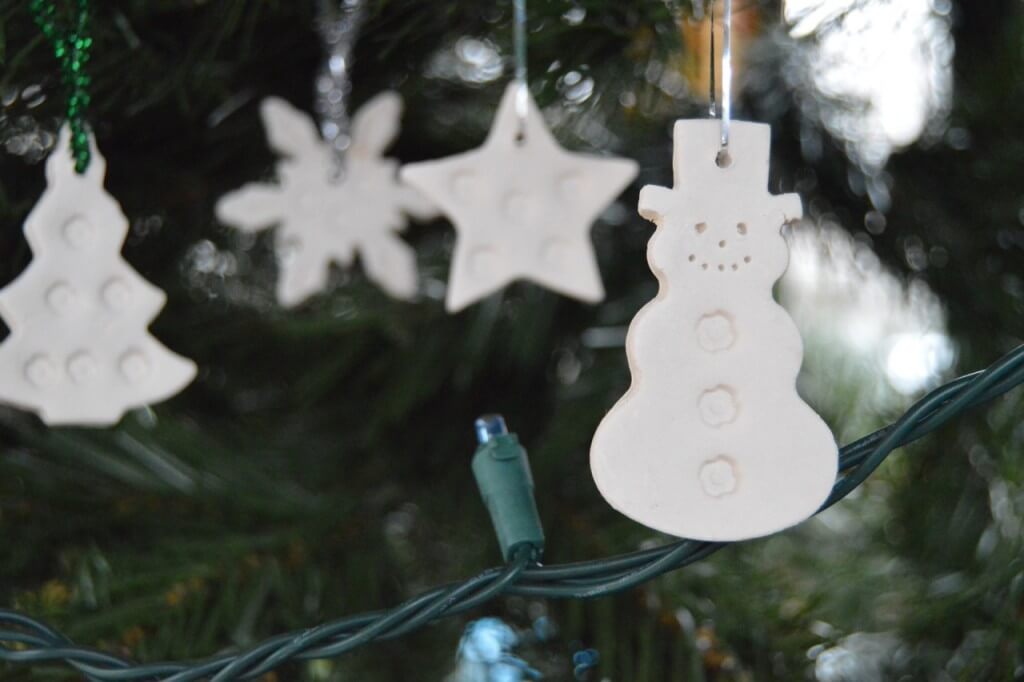
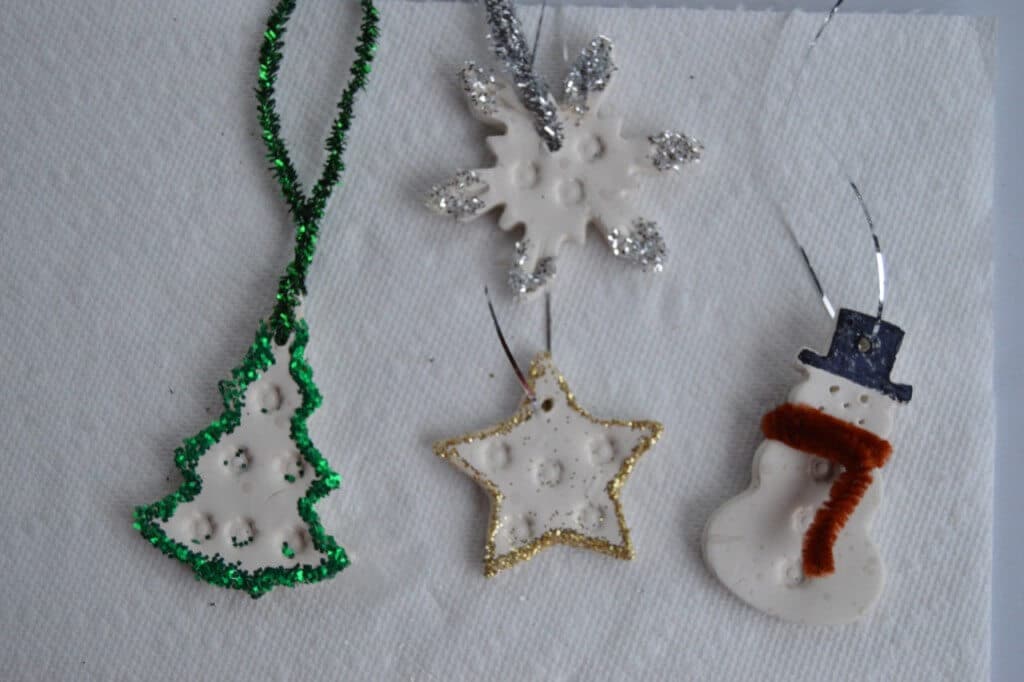
- Once completely dried, put your string of choice on them. I even use tinsel to make them really sparkly!
- You can also decorate them with glitter, ribbons, paint, pipe cleaners, or whatever craft supplies you have lying around. Get creative. It’s such a fun activity to do with kids!
- To use, just apply essential oils to the diffuser
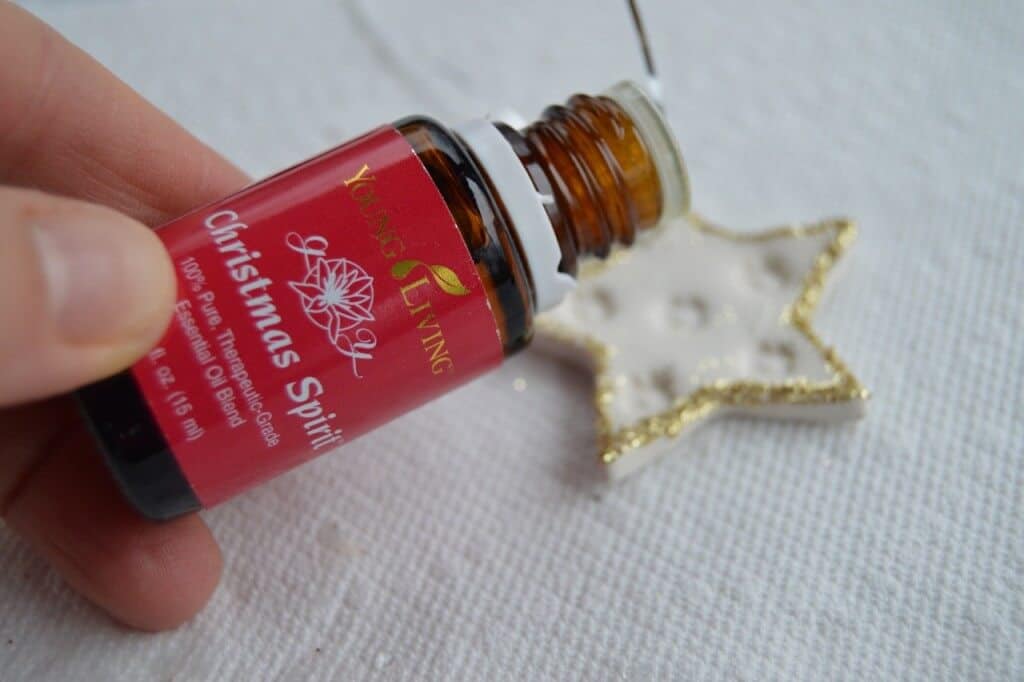
- Allow it to soak in a bit
- Hang it on the tree and enjoy!

- These also work well as a car freshener!
CLICK HERE to Pin this Post

Hi, my name is Kate.
I love food. Real food. We eat all of the things that nursing school taught me were bad for you: butter, eggs, bacon, and raw milk.
I am a Nurse, a Mom, and a Real Food loving blogger. Just trying to save the world.
This is the best idea EVER!!!
How long does the oil last on the ornaments?
Depends on how much you put on the ornament, several hours
I was just wondering how long it takes for the oils to soak in?
Just a few seconds
HOw many ornaments can you make with one tub of the clay?
Depends on what size you make, one tub makes a lot!
can you make your on no back clay with baking soda and cornstarch instead of boughten.
Sure!
Doesn’t painting them seal in the essential oils? Or are you mixing some kind of paint into the clay? What kind of paint are you using?
These look really cute and I really want to make them. Thanks, Anita
I didn’t paint them, I just embellished them with glitter on the edges. So the clay soaks the oils right up. The clay is white, but you can find darker colors.