
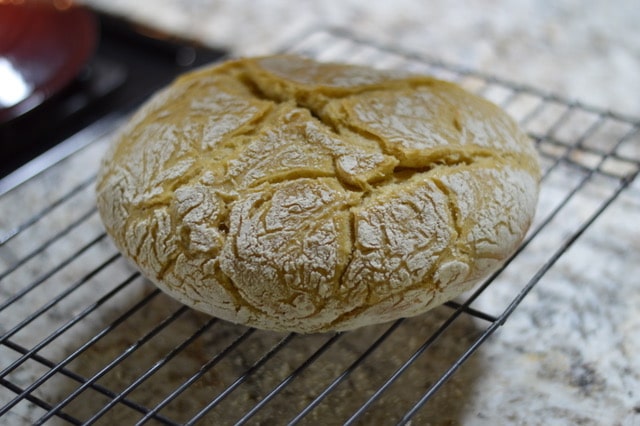
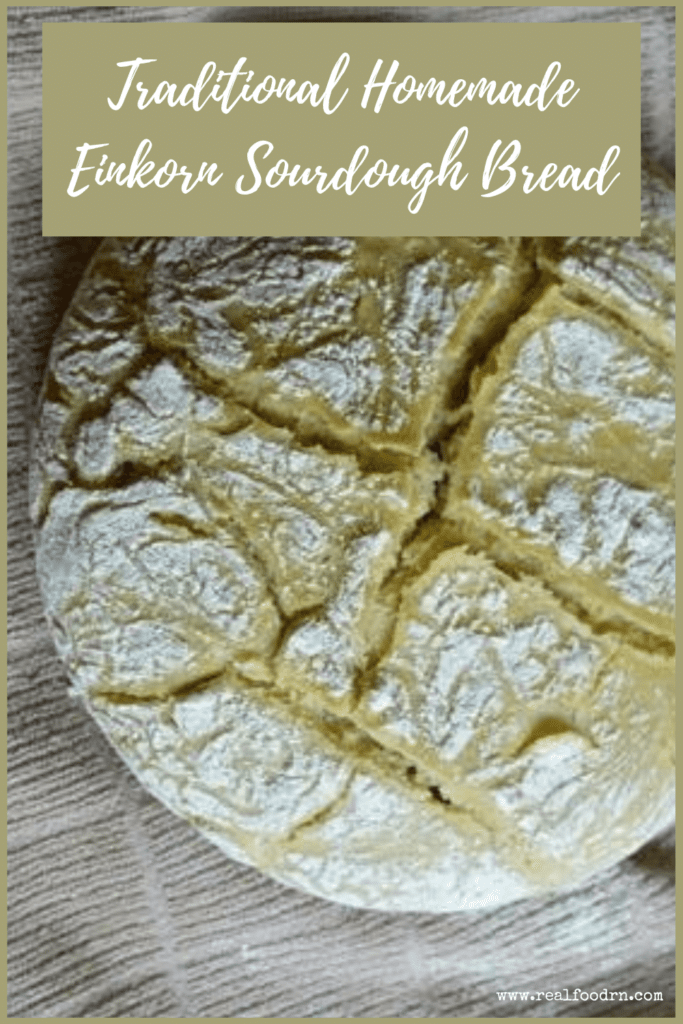
Delicious Traditional Homemade Einkorn Sourdough Bread
If you have read any of the other recipes on my website, then you will know that we have been gluten-free for a while now. My daughter gets knee pains from gluten and it generally makes me feel inflamed. So, to take on a recipe that used wheat was something I really had to think about. But, I was SO curious about this ancient wheat called einkorn! So, I researched and read and watched videos and asked my fellow bloggers. Up next, we bought a real starter and “grew” it. I wanted to do this as close to the traditional method as possible.
My first loaf was pretty much like a brick, but it smelled and tasted amazing! I sliced it up (man was that a job!) and toasted our first slice. We all slathered some in butter and gave it a go. The next day there were still no ill effects. Amazing!!! So, I decided to continue on this adventure and finally make it come out like a real loaf of bread. It took me several weeks, but we finally had amazing homemade einkorn sourdough bread to eat every single week. We have been eating it for weeks and have not had any adverse reactions!!!
This wheat flour is very different from our modern wheat, which is why people with gluten sensitivity can tolerate it. Plus, making it with a traditional starter allows many of the offenders to ferment out in the process. USE CAUTION if you have true celiac or a very bad reaction to wheat. You don’t want to damage your gut if you can’t tolerate gluten in any form.
Update: since we have been making this fresh every week I wanted to experiment a little to improve it even more. So I bought a mill and actually grind the einkorn wheat berries into flour right before I make the bread. This means it is as fresh as it can possibly be! Made a difference in the flavor and texture too! I did my homework and decided that Mockmill was the mill to own, and it is!!!
Here’s a video of us milling and making up the dough!

Homemade Einkorn Sourdough Bread
Ingredients
- 6 cups einkorn flour
- ½ cup sourdough starter
- 2 cups warm water
- 1 ½ tsp sea salt
Instructions
- In a large bowl, mix together the water and starter until dissolved. Pictured below is my starter, all nice and bubbly!
- Use a bowl scraper to get it into a dough ball.
- Cover the bowl with plastic wrap and a towel, and let rise in a dark place for 10 to 15 hours until the dough has doubled in size.
- Generously flour a proofing basket and set aside.
- This helps the dough form into a uniform round bread loaf shape.
- The sourdough that was rising overnight will be bubbly.
- Scrape the dough down using a bowl scraper, add flour as you need to so it’s no longer sticky and you can pick it up with your hands.
- Form the dough into a ball and place it into the proofing basket, dust the top with flour, and cover with a towel to rest and proof for 30 minutes.
- Preheat the oven to 450°F.
- Place a Dutch Oven with the lid on in the oven for 30 minutes.
- Carefully remove the pot from the oven and take off the lid.
- Flip the proofing basket over the Dutch oven so the loaf falls out into the bottom.
- Shake to center the loaf.
- Using a knife, score the top of the loaf so it can expand without the top completely cracking.
- Cover and place in the oven.
- Bake for 40 – 50 minutes.
- Remove from oven and allow to cool on a wire rack for an hour before slicing. I typically bake our bread right before church on Sunday mornings so I cover it with a towel to prevent the bread from drying out too much while we are gone.
- The best way to slice the loaf is upside down because the base of the loaf is thicker.

- I store our Homemade Einkorn Sourdough Bread in the fridge because it lasts longer, up to one week. This loaf makes all of the bread that our family of 6 needs for one week!


CLICK HERE to Pin this Recipe

Hi, my name is Kate.
I love food. Real food. We eat all of the things that nursing school taught me were bad for you: butter, eggs, bacon, and raw milk.
I am a Nurse, a Mom, and a Real Food loving blogger. Just trying to save the world.
do you grind the berries or buy the flour?
I started with purchasing the pre-ground flour. Once I perfected the recipe to my liking I got a mill and now I grind my own. I am going to get a post up about that process, with a video, hopefully soon 🙂
Thanks for this recipe! My first loaf just came out of the oven. It only took 7 days from start to finish! I used Bob’s Red Mill all purpose flour with the white flour starter recommendation from Cultures for Health. Is it okay to do it that way or did you use the Einkorn flour for the starter too? I typically am gluten-free and this will be a nice treat.
Yay for your first loaf!!! I used einkorn for the entire recipe, even the starter.
I’ve read some people use rye for the sourdough starter because it’s a little cheaper and grows well. Could I use the rye starter, do you think, with Einkorn for the rest of it? Thanks!