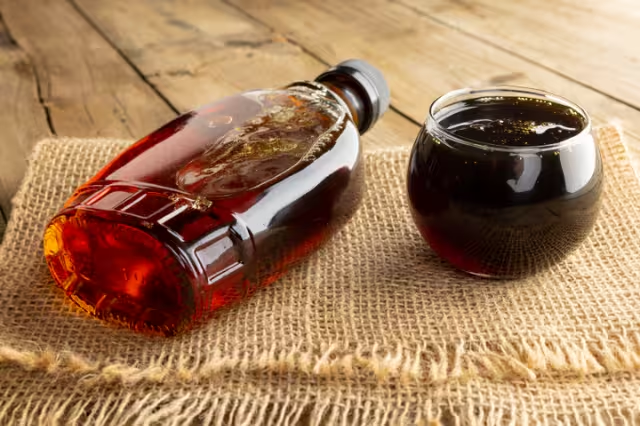
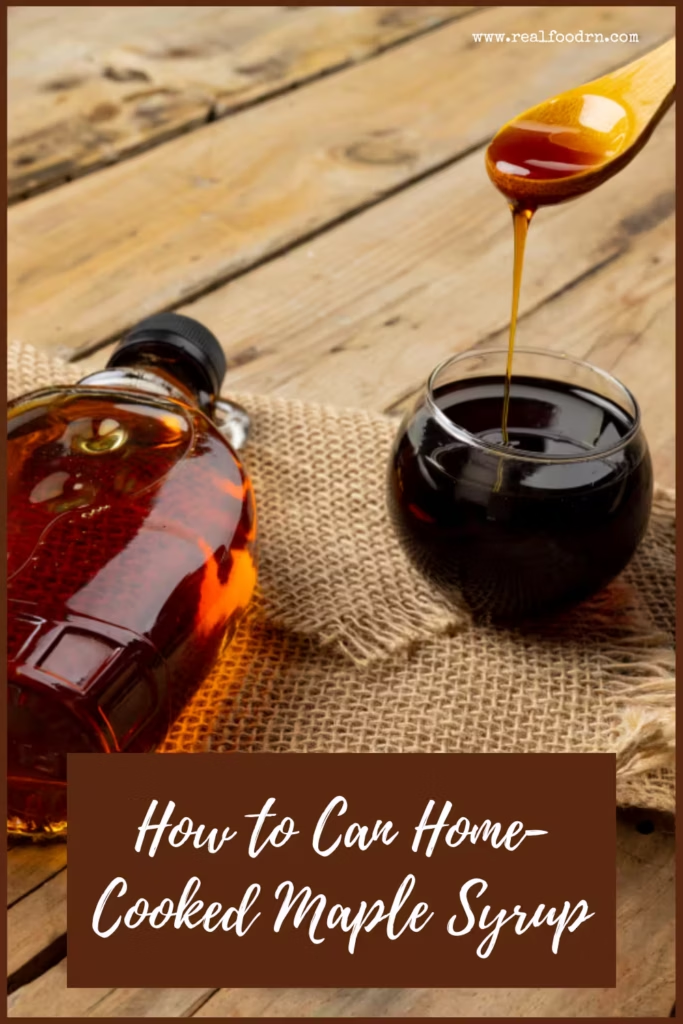
How to Can Home-Cooked Maple Syrup
There’s nothing quite like homemade maple syrup simmered slowly to perfection and stored away for future breakfasts, baking days, and early mornings. Learning how to can home-cooked maple syrup is a wonderful way to preserve all that rich flavor while making sure your hard work lasts for years to come.
The process is surprisingly simple and beginner-friendly. Once your syrup has been properly filtered, heated, and poured into sterilized jars, steam canning helps create a secure seal for long-term storage. With just a little preparation and attention to temperature, you can safely preserve jars of delicious maple syrup to enjoy long after syrup season has ended.
One of the best things about canning maple syrup is the convenience. Having shelf-stable jars ready to grab whenever you need them makes homemade breakfasts feel extra special. It’s also a great way to reduce waste, store larger batches, and build a pantry filled with homemade staples.
In this post, we’ll walk through the simple steps for canning home-cooked maple syrup, including filtering, heating, filling jars, steam canning, and proper storage tips so your syrup stays fresh and delicious for years.
How to Can Home-Cooked Maple Syrup
Equipment
Instructions
- Begin by filtering the maple syrup to remove any sediment or impurities.
- Sterilize your jars and keep them hot until ready to use.
- Heat the maple syrup to 220°F before carefully filling the jars.
- Wipe the jar rims clean, then place the lids on top and tighten the bands to fingertip tight.
- Steam the jars for 15 minutes.
- Allow the jars to cool overnight to ensure the lids have properly sealed.
- Label and date each jar, remove the bands, and store the jars in a cool, dark place such as a canning room or pantry.
Canning maple syrup is a simple skill that makes preserving homemade syrup easy and rewarding. Once the jars are sealed and stored away, you’ll have a pantry stocked with rich, homemade maple syrup ready whenever you need it. Whether you’re new to canning or already love preserving food at home, this is a practical and satisfying project worth trying.
CLICK HERE to Pin This Post

Hi, my name is Kate.
I love food. Real food. We eat all of the things that nursing school taught me were bad for you: butter, eggs, bacon, and raw milk.
I am a Nurse, a Mom, and a Real Food loving blogger. Just trying to save the world.