
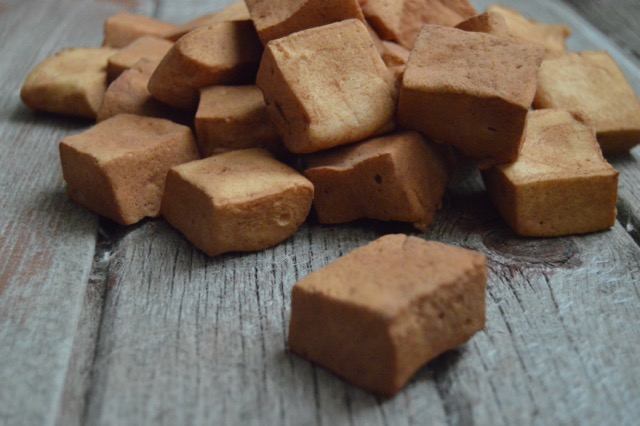
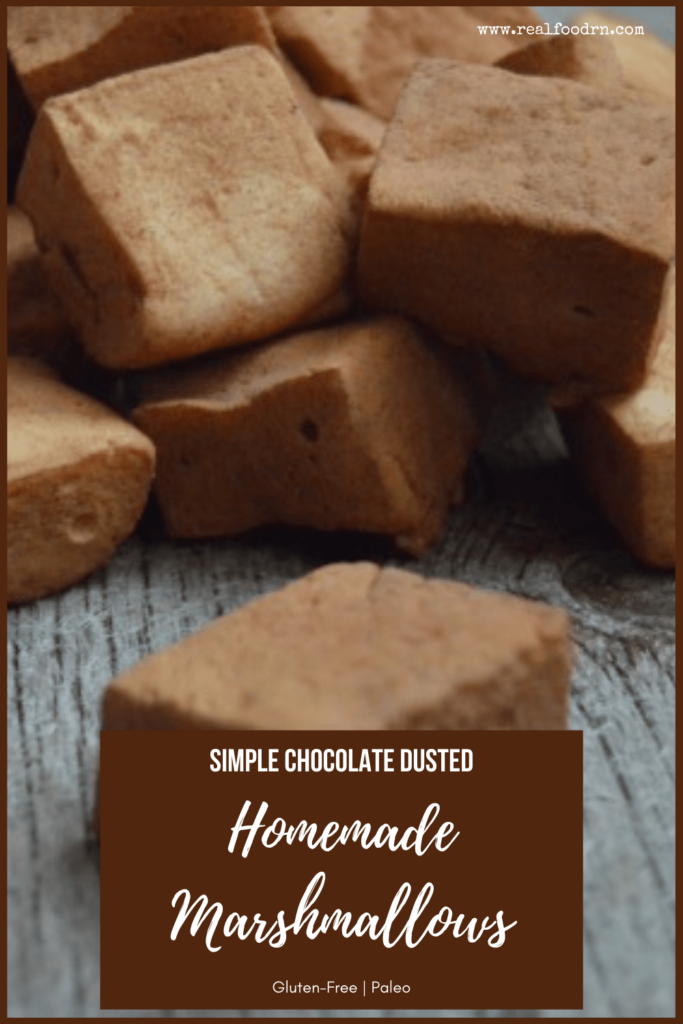
Chocolate Dusted Homemade Marshmallows
I grew up camping on the weekends in the summer months. No camp day was complete without s’mores! Over the years I have perfected my technique of roasting the most perfect golden, melty marshmallow ever. Sandwich that between graham crackers and chocolate bars and you have an amazing camp dessert. Such a treat!
Well, now that we don’t eat a lot of the stuff that you find on store shelves, I have had to learn to make my own. I figured out how to make homemade grain-free graham crackers, and I know where to find good chocolate….but the marshmallows were still filled with junk. Then I started seeing recipes online for homemade marshmallows. Who knew! After much tinkering in my kitchen with the kiddos, we finally perfected a delicious homemade marshmallow recipe. We even dusted them with cocoa! A kiddo favorite for sure, only these are made with healthy ingredients.

Chocolate Dusted Homemade Marshmallows
Equipment
Ingredients
- 1 cup water divided
- ¼ cup grass-fed gelatin powder
- ½ cup raw honey
- 2 egg whites
- Coconut oil for greasing
- Cocoa powder for dusting
Instructions
- 1. Grease a glass baking dish with coconut oil, then dust with cocoa powder.
- 2. Heat 1/2 cup water until bubbling.
- 3. In a medium bowl, combine hot water with gelatin and whisk until the gelatin is dissolved, set aside.

- 4. In a medium saucepan, heat 1/2 cup water, and honey over medium-high heat.
- 5. Using a candy thermometer, heat the honey and water until it reaches 250°F (aka, the hardball stage).
- 6. While the honey and water are heating, beat the 2 egg whites using a hand mixer or stand mixer.
- 7. Beat the egg whites until stiff peaks form.
- 8. Pour your honey mixture into the gelatin and water, whisk until it is all combined and there are no lumps.
- 9. Pour this into the mixing bowl with the egg whites and whip until it becomes thick, like marshmallow cream.
- 10. Beat for about 10-15 minutes using your mixer.
- 11. When it’s nice and thick, pour it into the prepared dish.
- 12. Place the dish into the fridge for about 2 hours, until set.
- 13. You should be able to peel the marshmallow out in a loaf when it’s ready.
- 14. Here is the underside.
- 15. Place the loaf onto a cutting board and cut into squares.
- 16. Put the marshmallows into a large bag with some more cocoa powder and toss so the marshmallows are coated on all sides.
- 17. Store in a large plastic bag, I keep them in the fridge and they last for several weeks.
- 18. Makes about 25-35 marshmallows, depending on the size that you cut them into.


Notes
Here is a short video of what I will look like when you take it out of the pan
CLICK HERE to Pin this Recipe

Hi, my name is Kate.
I love food. Real food. We eat all of the things that nursing school taught me were bad for you: butter, eggs, bacon, and raw milk.
I am a Nurse, a Mom, and a Real Food loving blogger. Just trying to save the world.
Cocoa dusted, nice idea! I always coat in arrowroot. Hey just with this recipe, have you tried leaving out the egg whites and just using the honey sugar syrup, water and gelatin? Yours don’t look as bubbly and fluffy as the recipe I always use from the Urban Poser’s website. Egg-free and always super fluffy and light 🙂 Just a thought xx