
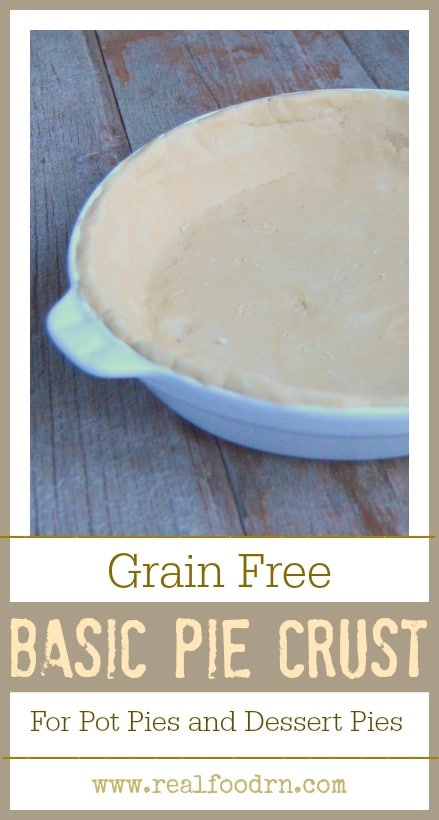
Grain-Free Basic Pie Crust Recipe
I have never really been a fan of pie crust. Don’t get me wrong, I still love the filling in the pie, but the crust was always left behind on my plate. So naturally, when we went grain-free, I came up with crustless recipes like Pumpkin Pie Pudding, so I could still enjoy the flavor of the pie without the crust.
Until now.
When you are instructed to bring a pie to the holiday table, you must bring pie with a crust. So I had to come up with something grain-free. Not only did it need to be grain-free, but it also had to be edible enough for my family not to know the difference.
After a little bit of experimentation, I finally came up with a grain-free basic pie crust recipe that is very versatile. Fill it with pecan pie, pumpkin, or really flavor it up with chocolate pie filling! The possibilities are endless. You can even freeze the dough in those cases of pie emergencies!

Grain-Free Basic Pie Crust
Ingredients
- 1 ¼ cups Otto’s Cassava Flour
- ½ tsp sea salt
- ½ tsp organic sugar
- 1 stick cold unsalted grass-fed butter cut into pieces
- 3 – 4 Tbsps ice water
Instructions
- 1. In a food processor, pulse flour, salt, and sugar.

- 2. Add butter to the food processor, piece by piece, while pulsing. My daughter helped me add the butter.
- 3. Add in water, one tablespoon at a time, until it is crumbly but holds together when squeezed (up to 4 Tbsp).
- 4. Form the dough into a ball on a piece of plastic wrap.
- 5. You may need to add a little more water to it at this point to get it to form into a nice ball.
- 6. Wrap plastic wrap around the dough ball and press it into a one-inch thick flat disc.
- 7. Place disc in the fridge to chill for one hour (you can leave the dough in the fridge for up to 3 days, or wrap in foil and freeze it for up to 3 months!).
- 8. Once the dough is chilled, roll it out on a Silpat (or a floured surface) using a floured rolling pin.
- 9. Roll dough into approximately a 14-inch round.
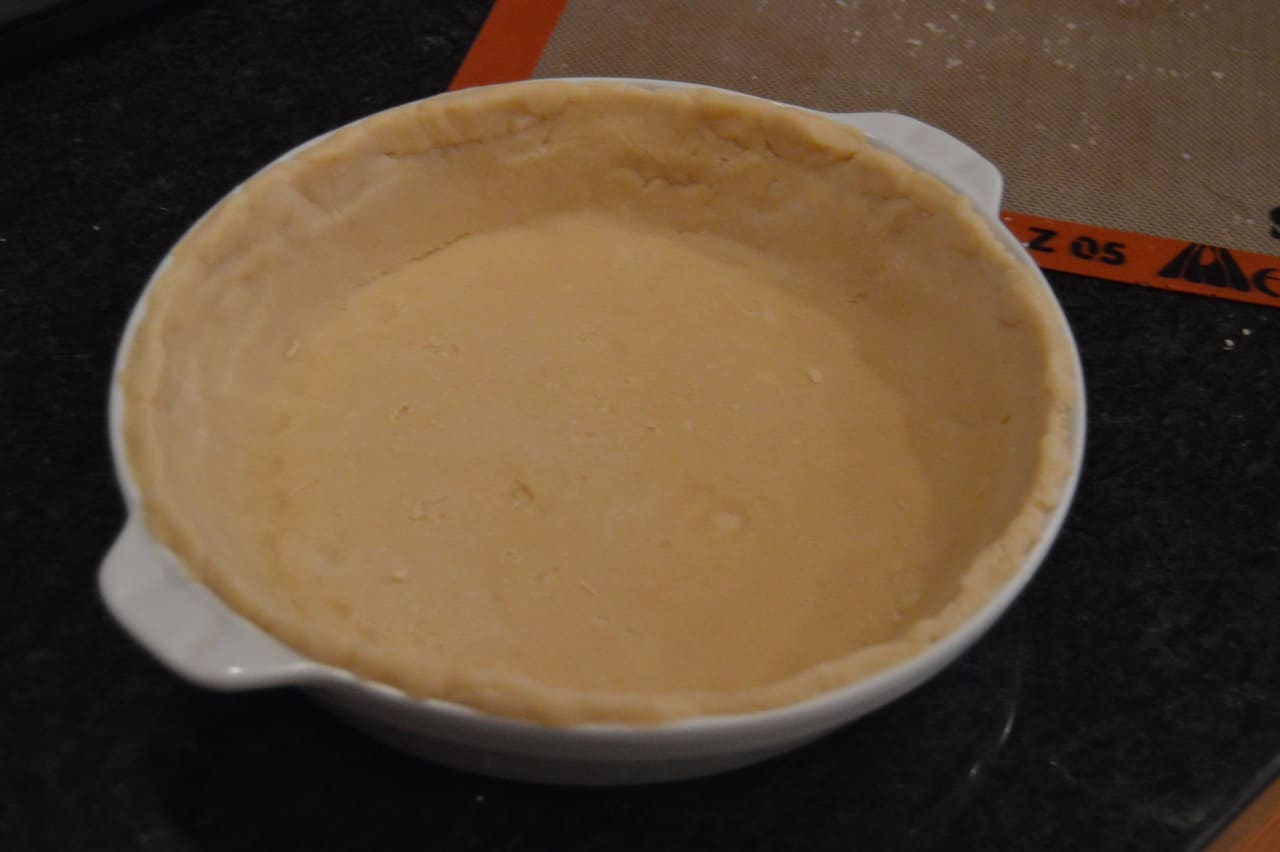
- 10. Using a rolling pin, pick up the dough and gently lay it into a 9-inch pie pan.
- 11. Using your fingers, gently push the dough into the pie pan, careful not to stretch it.
- 12. Trim off excess dough around the edges or fold it underneath.
- 13. Crimp dough into the desired edge that you like using your thumb and forefinger.
- 14. Fill with your desired pie filling and bake according to the instructions for your filling.


P.S. If you want to find the best gluten-free items online (best prices around, believe me, I have checked!) with free shipping, I highly recommend Thrive Market, they even have a special Gluten Free section. CLICK HERE to check them out!
CLICK HERE to Pin this Recipe

Hi, my name is Kate.
I love food. Real food. We eat all of the things that nursing school taught me were bad for you: butter, eggs, bacon, and raw milk.
I am a Nurse, a Mom, and a Real Food loving blogger. Just trying to save the world.
Please please please will all of you who write recipes with cup sizes also give equivalent weights. Weights are universal.. cup sizes are not. Also a ‘stick’ of butter? I know we can look it up but why not be global especially when the recipes sound so good. In hope
Mary
I”m sorry Mary, I know that can be confusing. I also have to look up equivalents when I use other recipes. It can be a pain. Some day, when I have more time I will probably add conversions to all of my recipes. I hope you were able to find the equivalents and make the pie crust 🙂
Have you tried it with a non dairy like coconut or palm oil?
Not yet, but I do plan to try that next. I just love using butter with pie crusts. I have a basic pie crust recipe from my grandma that uses oil and I am going to try to recreate that one grain free.
Thanks. I am going to try it at the weekend as I have been missing pastry so much (I am trying to go wheat free). I will use butter the first time as what is better than a nice buttery crust. I have sort of given up wheat for over a year and am trying out different recipes. Some are very complicated and need a lot of expensive ingredients but this one sounds simple and ‘right’.
Mary
I’m excited to try this! If I doubled the recipe, would it also work as a top crust in addition to a bottom crust for apple pie?